Introduction
Curious about what happens after you accept a solar quote? This detailed guide walks you through every stage of the solar PV and battery installation process for UK homeowners, so you know exactly what to expect and how to prepare.
The Installation Journey

1. Property Assessment
- Site Survey: The installer visits your home to assess roof orientation, shading, and structural suitability.
- Energy Needs Analysis: Your current and future electricity usage is reviewed to recommend the right system size.
2.System Design & Quote
- Custom Design: A tailored system is designed for your property, including panel layout and battery sizing.
- Detailed Quote: You receive a comprehensive quote outlining equipment, installation, and expected savings.
3.Permissions & Paperwork
- Planning Permission: Most UK homes don’t need it, but listed buildings or those in conservation areas may.
- Grid Connection: The installer handles applications to connect your system to the national grid.
- Export Tariff Registration: If you plan to sell surplus energy, your installer will register you for the appropriate scheme
4.Scaffolding & Delivery
- Scaffolding: Erected for safe roof access.
- Equipment Delivery: Panels, inverters, and batteries are delivered to your property.
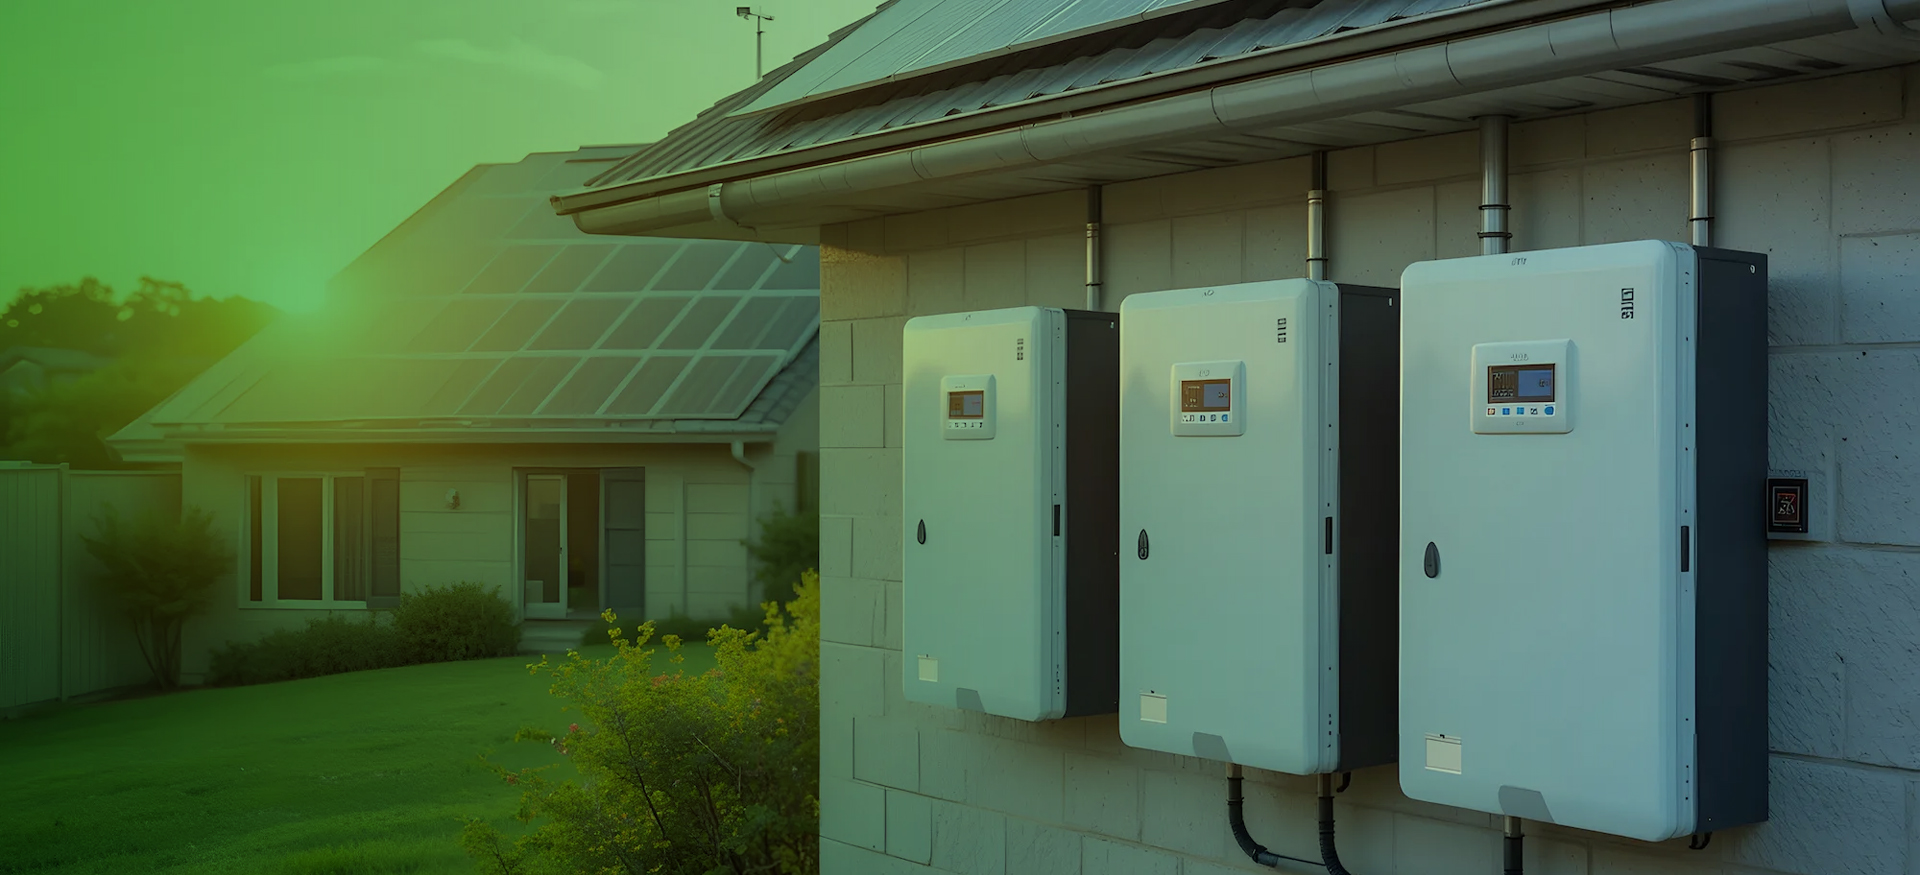
5.Panel & Battery Installation
- Panel Mounting: Panels are securely fixed to your roof.
- Wiring & Inverter Setup: Panels are wired to the inverter, which converts solar energy to usable electricity.
- Battery Installation: The solar battery installation UK is carried out in a suitable location, such as a utility room or garage.
6.Testing & Grid Connection
- System Testing:>The installer checks all components for safety and performance.
- Grid Connection: The system is connected to the grid and export capability is enabled.
7.Handover & Monitoring
- System Handover: You receive a demonstration of system operation, monitoring tools, and maintenance tips.
- Documentation: All warranties, certificates, and user manuals are provided.
How Long Does It Take?
- Typical Timeline: Most residential installations are completed in 2–3 days.
- Battery Addition: May add an extra day, depending on complexity.
Tips for a Smooth Installation

- Clear Access: Ensure installers have easy access to your roof and electrical systems.
- Ask Questions: Don’t hesitate to clarify any part of the process.
- Review Documentation: Double-check all paperwork before signing off.
Frequently Asked Questions
Minor disruption is possible, but most work is completed outside and within a few days.
Reputable installers offer aftercare and support—check your warranty details.
Most modern systems include online monitoring tools for real-time performance tracking.
Takeaway
A reputable installer will guide you through every step, from survey to switch-on. Understanding the process helps you ask the right questions and ensures a smooth, stress-free experience.